Connecting to your Web server using CYBERDUCK
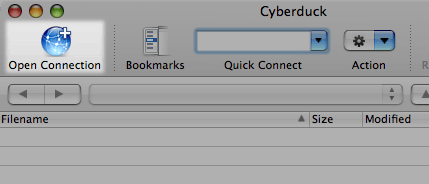
The first thing you need to do is connect to your Web server. To do this, first open a new Cyberduck browser window, if one isn't already open, by choosing File > New Browser. Now choose File > Open Connection, or click the Open Connection button at the top left of the browser window:
This displays a dialog where you can enter your web server's name (Server), your login name (Username), and your login password (Password). Enter your details, then click Connect to connect to your server:
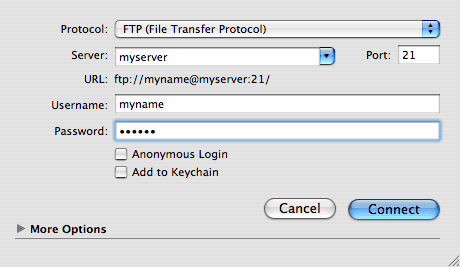
You may be behind a proxy server or firewall, especially if you're trying this from work. If so, you will need to get your firewall details from your IT support people. To configure Cyberduck to work through an FTP proxy server in Mac OS X 10.4 (Tiger), open the System Preferences application, then click Network, then the Proxies tab, check the FTP Proxy option in the list, and enter your FTP proxy details.
Your home directory
Once logged in, you will be taken to your home directory on your Web server. This directory contains (amongst other things) your website directory, which is where you need to upload all your files:
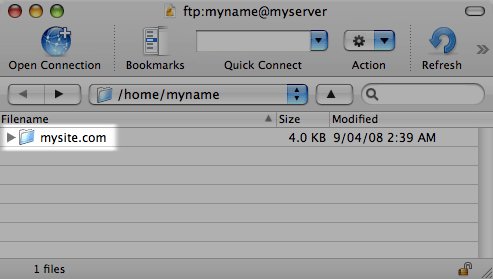
Double-click your website directory - mysite.com in the above screenshot - to browse its contents.
Your document root
The top level folder of your website is often called the document root. This is where you will place your first website files. The document root is often named htdocs or public_html, and is usually inside your website directory.
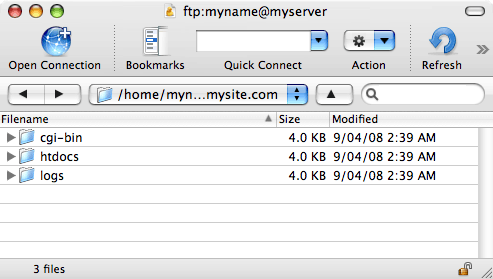
htdocs, your document root directory - the top level of your website.Double-click your document root folder - htdocs in the above screenshot - to browse its contents.
Uploading a Web page
Once you've found your document root, you're now ready to upload your website. Here, we're going to upload our first page, index.html, which should be the name of the main page of your website.
The easiest way to do this in Cyberduck is to open the website folder on your hard drive using the Finder, then drag the file from the Finder to the Cyberduck window:
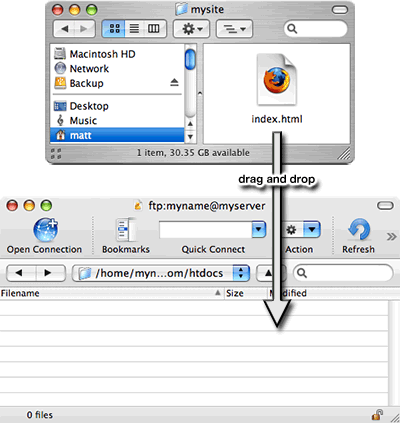
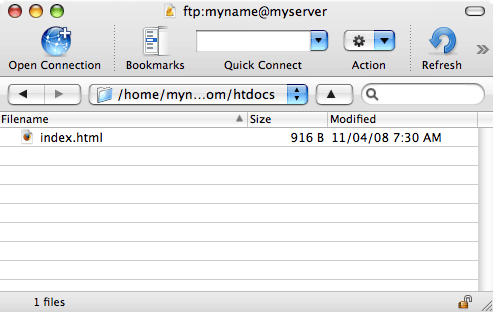
You'll see a Transfers dialog appear as Cyberduck uploads the file to your Web server. When it is finished you should see a copy of your file in the Cyberduck window. Congratulations - you've just uploaded your Web page!
No comments:
Post a Comment