Search Our Web Design Blog...

Tuesday, November 22, 2011

your first button


01 Photoshop: Create Web 2.0 Button
Create a blank canvas at about 500px (width) x 400px (height) to start off the button design. Create a new layer call ‘bg01‘. Select the Rounded Rectangular Tool, hold SHIFT and draw a round sided square in the center. Any color is fine at the current stage.
02 Photoshop: Create Web 2.0 Button
Call up the Blending Options of ‘bg01‘ and adjust the following styles:
Drop Shadow
  • Opacity: 40%
  • Distance: 0px
  • Spread: 0%
  • Size: 6px
Gradiant Overlay
  • Color stop: 0%, #d00031
  • Color stop: 100%, #ff2b5d
03 Photoshop: Create Web 2.0 Button
Hold APPLE, left click on ‘bg01‘ Layer Thumbnail to select its shape. Go Select -> Modify -> Contract and enter the value2px‘. This will shrink the selected area by 2 pixel.
04 Photoshop: Create Web 2.0 Button
Create a new layer call ‘bg02‘ and filled the highlighted (after shrink) area with any color. I use #000000 black here. Double click on ‘bg02′ to launch up the Blending Option and tweak the following style.
Gradiant Overlay
  • Color stop: 0%, #c6002f
  • Color stop: 100%, #c6002f
Create another new layer for text, call it ‘txt‘. Insert your button’s text. I’ll use an alphabet to represent. The font styles I’m using here are as follow:
  • Rounded Arial Bold
  • 150pt
Same, after deciding your text, double click on ‘txt’ to launch the Blending Options and tweak the following styles.
Drop Shadow
  • Opacity: 25%
  • Distance: 0px
  • Spread: 0px
  • Size: 5px
Inner Shadow
  • Opacity: 10%
  • Distance: 0px
  • Choke: 0
  • Size: 10px
Bevel Emboss
  • Depth: 1px
  • Direction: Down
  • Size: 0px
  • Softten: 0px
  • Highlight Mode Opacity: 32%
  • Shadow Mode Opacity: 32%
Gradiant Overlay
  • Color Stop:0% #d2d2d2
  • Color Stop:100% #f0efef
05 Photoshop: Create Web 2.0 Button
Button is almost done. Let’s give it a little glow over the top part. Hold APPLE, left click ‘bg02‘ Layer Thumbnail to highlight the outer shape; choose Eclipse Marquee Tool. Now hold ALT, with Eclipse Marquee Tool selected, drag is across to minus out bottom half of the highlighted area. Refer to image above.
06 Photoshop: Create Web 2.0 Button
With the top portion highlighted and Eclipse Marquee Tool still selected, right click and choose Feather; enter 15px for the radius.
Create a new layer, call it ‘glow‘ and fill the highlighted part with white [#ffffff]. This should add glow effect to the top part of your button. Final product should look something like the image below.
final Photoshop: Create Web 2.0 Button

Photoshop web layout

We have used PS previously to make banners and buttons, now we are going to use PS to create an entire page, all the way down the the HTML/CSS that defines out buttons etc.

You will be using the tools in PhotoShop (most often the blending options) to create a complete layout.  Please choose from the following 40, find one you like, you can adapt colors/images:


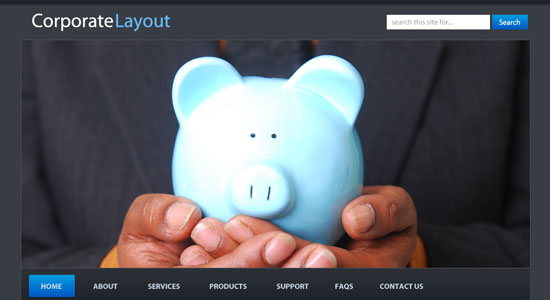
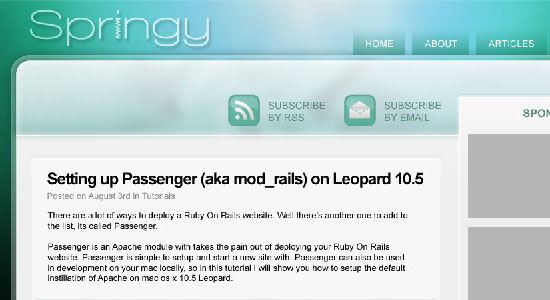
1. Corporate WordPress Style Layout

Corporate WordPress Style Layout - screen shot.

Create a dark, clean, and usable blog style layout.

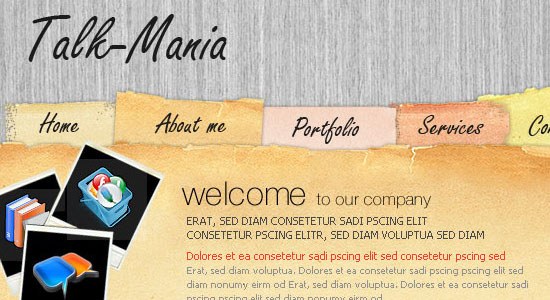
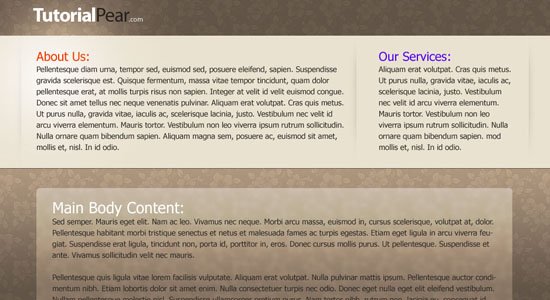
2. Old Paper Layout

Old Paper Layout - screen shot.
Learn how to create an elaborate and decorative design with paper textures.

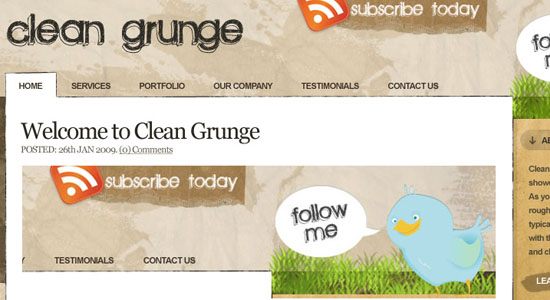
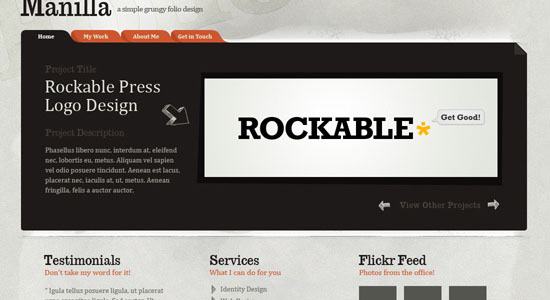
3. Making the ‘Clean Grunge’ Blog Design

Making the ‘Clean Grunge’ Blog Design - screen shot.
In this tutorial, you’ll see how to make a clean/grungy layout.

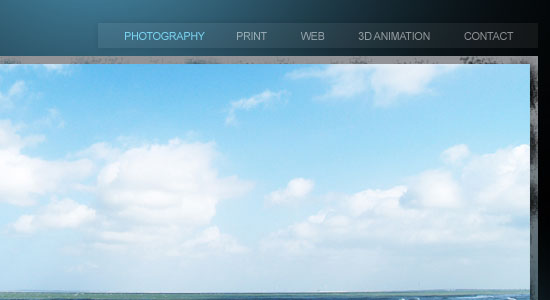
4. Create a Sleek, High-End Web Design

Create a Sleek, High-End Web Design - screen shot./
This tutorial goes over how to create a dark-themed, classy web design.

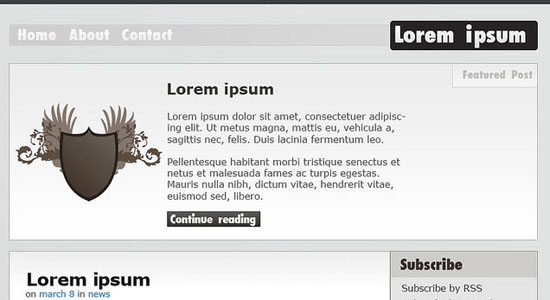
5. Clean Website Layout

Clean Website Layout - screen shot.
Learn how to create a simple and modern web layout using Photoshop.

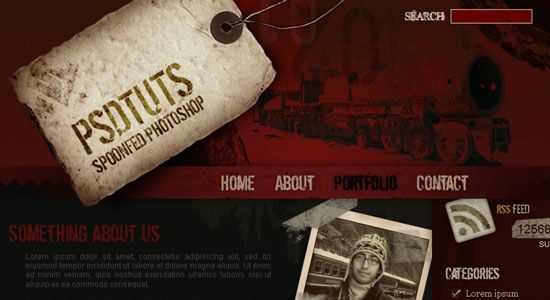
6. How to Create a Grunge Web Design in Photoshop

How to Create a Grunge Web Design in Photoshop - screen shot.
In this tutorial, you’ll read a detailed discussion on creating a grungy web design.

7. Photoshop Paper Texture Grunge Design

Photoshop Paper Texture Grunge Design - screen shot.
You will learn how to create a paper texture and then how to use it in a web design layout.

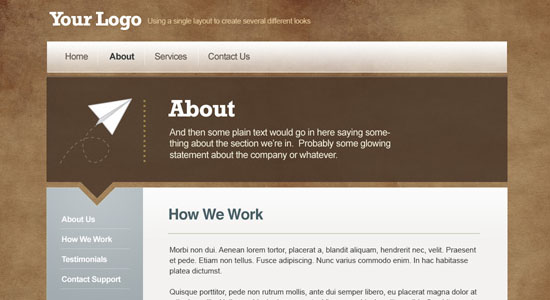
8. How a Simple Layout Can Be Mixed ‘n’ Matched

How a Simple Layout Can Be Mixed 'n' Matched - screen shot.
You’ll be creating a simple web layout that can easily be changed.

9. Five Looks, One Layout

Five Looks, One Layout - screen shot.
Learn the process of creating a versatile web layout that can embody a variety of design themes.

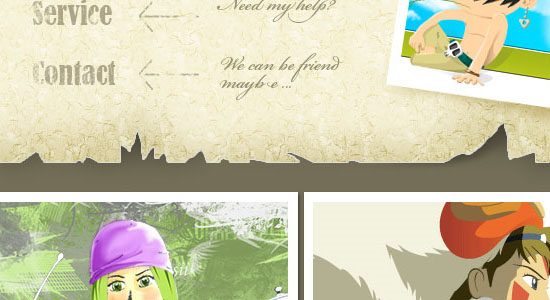
10. Design a Cartoon Grunge Web site Layout

Design a Cartoon Grunge Web site Layout - screen shot.
Mix the illustrated look and the popular grunge design trend in this web layout tutorial.

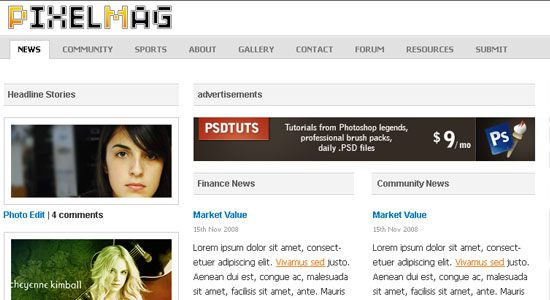
11. Professional Magazine Web Layout

Professional Magazine Web Layout - screen shot.
Create a clean and functional "magazine-style" web layout in Photoshop.

12. Web Design – Journal

Web Design - Journal - screen shot.
Learn how to create an aged journal web layout.

13. Modern Web 2.0 Web Layout

Modern Web 2.0 Web Layout - screen shot.
Create a modern, clean, and usable web layout by following along this tutorial.

14. White Notebook Style Web Template

White Notebook Style Web Template - screen shot.
Learn how to design an elegant and fancy notebook style web layout.

15. Design a Unique Grungy Website Layout

Design a Unique Grungy Website Layout - screen shot.
In this Photoshop tutorial, you’ll learn how to create a grungy-themed web layout.

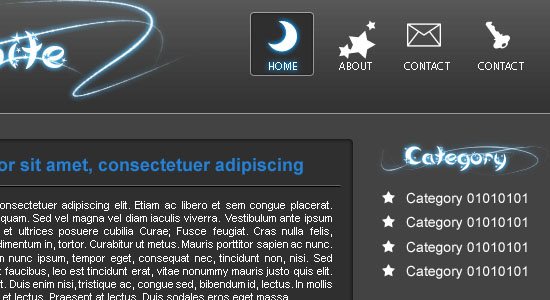
16. Simple Night Style Website Layout

Create a Dark Themed Web Design - screen shot.
In this tutorial, you’ll learn how to create a night-themed web layout.

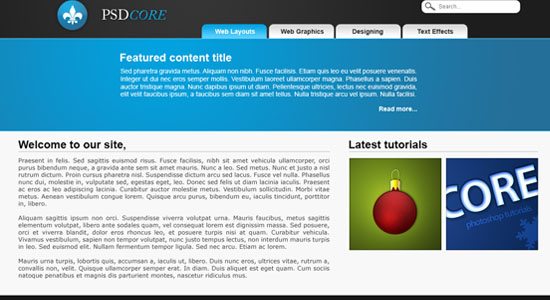
17. Professional Design Studio Web Template

Professional Design Studio Web Template - screen shot.
This tutorial goes through a process of designing a professional web layout.

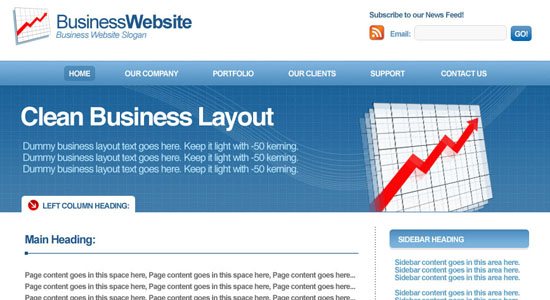
18. Design a Clean Business Layout

Design a Clean Business Layout - screen shot.
Create a clean, web 2.0 style web layout in this Photoshop tutorial.

19. Create a Dark Themed Web Design

Simple Night Style Website Layout - screen shot.
This Photoshop tutorial goes over the methods involved in designing a dark-themed web layout.

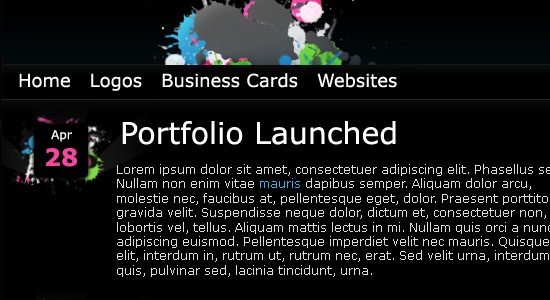
20. Portfolio Design Part 1 and Portfolio Design Part 2

Portfolio Design Part 1 and Portfolio Design Part 2 - screen shot.
Create a stylish porfolio by following along this two-part Photoshop tutorial series.

21. Portfolio Gallery Layout

Portfolio Gallery Layout - screen shot.
Learn a process for creating a sleek online photo album.

22. Business Layout #3

Business Layout #3 - screen shot.
This tutorial will show you how to design a clean business web layout.

23. Dark Style Web Template

Dark Style Web Template - screen shot.
In this Photoshop tutorial, you’ll be creating a beautiful dark-themed web layout.

24. Create a Vibrant Modern Blog Design in Photoshop

Create a Vibrant Modern Blog Design in Photoshop - screen shot.
Learn the techniques involved in creating a high-impact blog layout in Photoshop.

25. Full Web Template

Full Web Template - screen shot.
In this step-by-step tutorial, you’ll learn how to create a beautiful web layout.

26. Car Layout

Car Layout - screen shot.
This tutorial goes over the creation of a web layout for car enthusiasts.

27. Full Photoshop Website Design

Full Photoshop Website Design - screen shot.
Learn how to create a web layout that’s perfect for graphic and web designers.

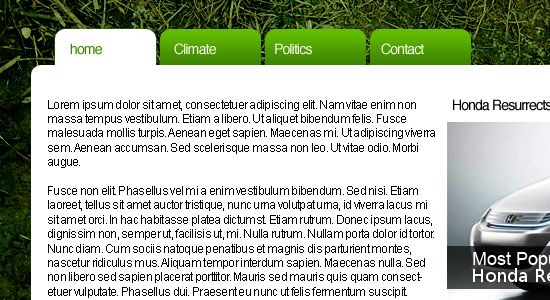
28. Environmentally Friendly Layout

Environmentally Friendly Layout - screen shot.
Create a clean and green web layout by following along this Photoshop tutorial.

29. Architecture layout

Architecture layout - screen shot.
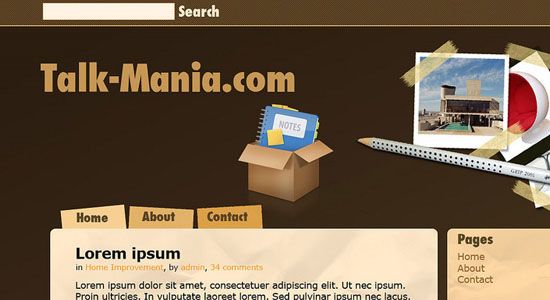
Create this architecture-themed, brown-colored web layout by following along this Photoshop tutorial.

30. Design Layout

Design Layout - screen shot.
Learn the process of creating this sleek and dark-themed web layout in Photoshop.

31. Creative Studio Web Page

Creative Studio Web Page - screen shot.
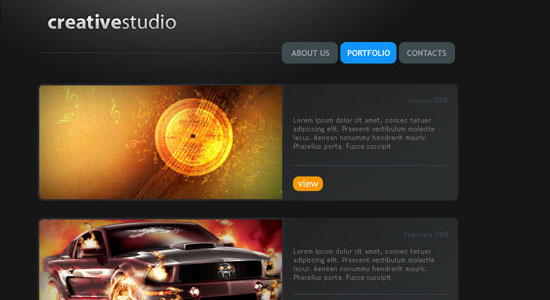
In this tutorial, you’ll learn how to create a dark-themed portfolio site.

32. Website Design Studio

Website Design Studio - screen shot.
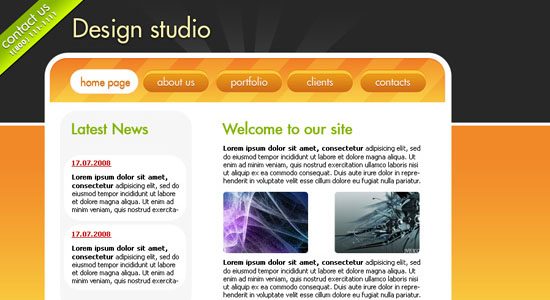
Create a bright and high-impact web layout by following along this Photoshop tutorial.

33. Carbon Fiber Layout

Website Design Studio - screen shot.
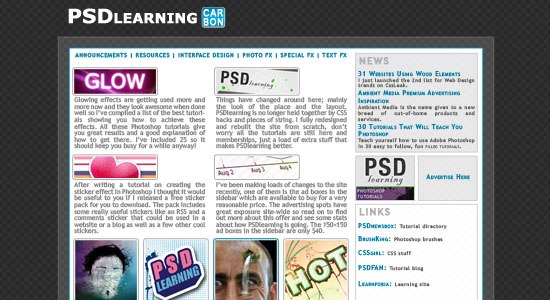
Learn how to use carbon fiber textures in your web designs in this Photoshop tutorial.

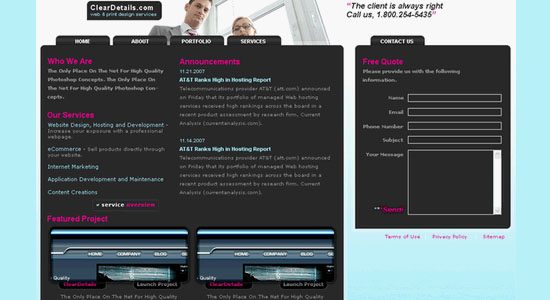
34. Creating Business Style Template Design

Creating Business Style Template Design - screen shot.
Learn how to make a dark-themed, clean web layout in this tutorial.

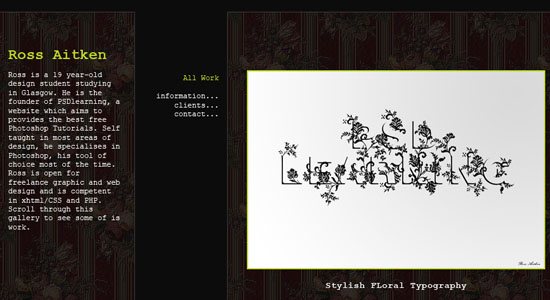
35. Model portfolio layout

Model portfolio layout - screen shot.
In this Photoshop tutorial, you’ll learn how to make a beautiful portfolio web layout that has a textured background.

36. Clean Business Layout Tutorial

Clean Business Layout Tutorial - screen shot.
This tutorial will show you the techniques involved in creating an eye-catching business themed layout.

37. Premium WordPress Photoshop Layout

Premium WordPress Photoshop Layout - screen shot.
Learn how to create a "premium" WordPress web layout from scratch by reading through this Photoshop tutorial.

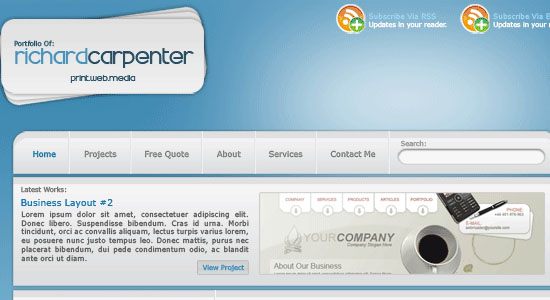
38. Portfolio Layout #9

Portfolio Layout #9 - screen shot.
This Photoshop tutorial goes over the techniques involved in creating a clean, blue-themed portfolio site.

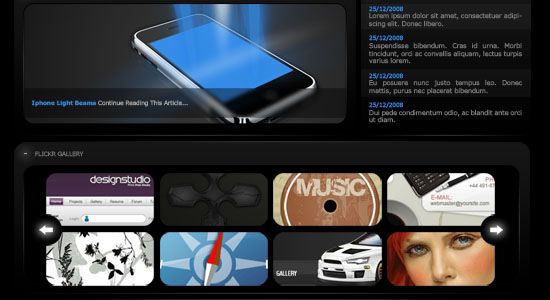
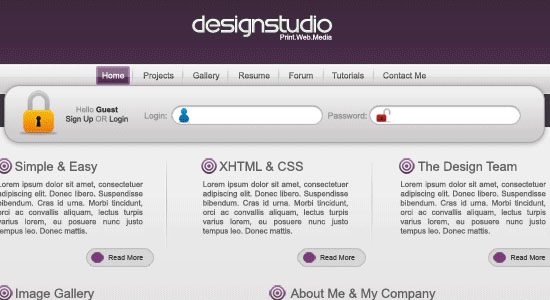
39. Design Studio Layout

Design Studio Layout - screen shot.
This tutorial shows you how to create a website layout that has metallic gradients.

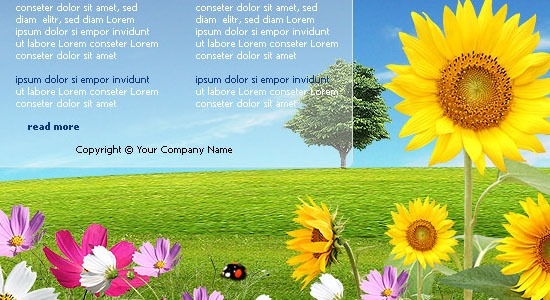
40. Nature Portfolio Layout

Nature Portfolio Layout - screen shot.
Create a nature-inspired web layout by following along this Photoshop tutorial.


Tuesday, November 15, 2011

an easier way...

if you do not need your cursor to be very precise:

name your instance name for your new cursor movieclip "cursor"
then add this code to frame 1 of your main timeline:

Mouse.hide();
stage.addEventListener(MouseEvent.MOUSE_MOVE,follow);
function follow(evt:MouseEvent){
 cursor.x = mouseX;
 cursor.y = mouseY;
}


Now all you need to do is double click on your movie clip and
move the object to align with the crosshair (this is the registration
point for your cursor).


Custom Cursor...

A little more confusing to make it work:

The code (based on a movie clip named MyCursorClass with a Linkage set to MyCursorClass:


import flash.display.Sprite;
import flash.display.StageAlign;
import flash.display.StageScaleMode;
import flash.events.Event;
import flash.events.MouseEvent;

var myCursor:Sprite;

stage.align = StageAlign.TOP_LEFT;
stage.scaleMode = StageScaleMode.NO_SCALE;

function init()
{
    Mouse.hide();

    // this creates an instance of the library MovieClip with the
    // name, "MyCursorClass".  this contains your mouse cursor art
    //
    myCursor = new MyCursorClass();
    myCursor.mouseEnabled = false;
    myCursor.visible = false;
   
    // you'll want to make sure the child is added above everything
    // else, possibly in its own container
    //
    addChild(myCursor);
   
    // respond to mouse move events
    stage.addEventListener(MouseEvent.MOUSE_MOVE, mouseMoveHandler);
    stage.addEventListener(Event.MOUSE_LEAVE, mouseLeaveHandler);
}

function mouseMoveHandler(evt:MouseEvent):void
{
    // whenever the mouse moves, place the cursor in the same spot
    myCursor.visible = true;
    myCursor.x = evt.stageX;
    myCursor.y = evt.stageY;
}

function mouseLeaveHandler(evt:Event):void
{
    myCursor.visible = false;
}

init();

Web 2

http://sixrevisions.com/javascript/20-excellent-javascript-navigation-techniques-and-examples/

Monday, November 14, 2011

Custom Cursor

  • Press (Ctrl+F8) to create a new symbol.
    "Create New symbol" window will appear
  • Name your symbol cursorNew_mc.
  • Click on movieclip behavior and then press "OK"
    Now you would have entered your movieclip symbol
  • Draw anything you like to replace the existing cursor.
    For example I drew an arrow as shown below
  • Now come back to "Scene 1" which is your main movie
    To get back to "Scene 1", click on the "Scene 1" text on top of your timeline window as shown in the figure below
In "Scene 1" of your Main Movie
  • Drag your cursorNew_mc movieclip symbol from library onto your stage.
    If Library window is not open, Press (Ctrl+L).
  • Name this Symbol "cursornew" in the instance text box of your property window.

  • Select 1st Frame of your "Layer1". Go to Actionscript panel ( If your actionscript panel is not open, Press "F9")
  • With Frame1 of your layer 1 still being selected, type the below mentioned script in your action panel.

    Mouse.hide()
    startDrag(cursornew,true)